August 31, 2023 | Sarah Morrison
Enjoy this guide to mountaineering by Sarah Morrison; originally posted on adventuregirlaotearoa.com We love following Sarah on her mountaintop adventures!
For those getting into mountaineering it can be daunting to even figure out what clothes you need to take for each trip… so here’s an introduction to layering for the mountains!
The right rain jacket will keep you dry and comfortable during your activity of choice. Do you work up a sweat in rainy weather? Perhaps you walk the dog in the cold drizzle? Or maybe you commute to work and the weather just cannot make up its mind? In this guide, we cover the best rain jackets and features that will help you power through any shower.

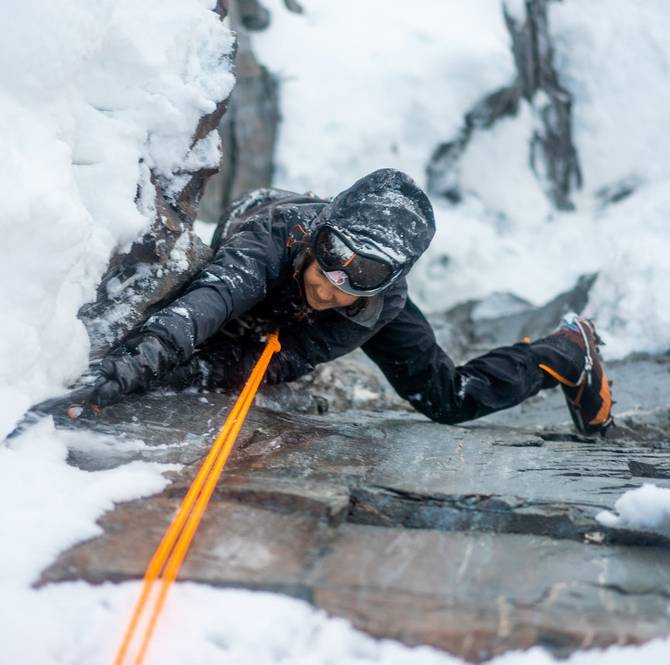
Photo credit: Matt Wilson
The mountains demand a layering system that strikes a balance between weight, warmth, efficiency, freedom of movement, and adaptability. Every climber will have their own layering preferences, and this is something you’ll develop for yourself as you begin to understand how your body reacts to different environments and what sort of climbing you’re going to be most focused on! The goal of this article is to serve as your gateway to understanding mountain layering, helping you curate a collection of apparel that ensures optimal comfort and performance.
As you delve into planning mountain missions, it's essential to have a supportive layering system to help you maintain the perfect body temperature throughout your expedition. An effective layering system allows you to seamlessly adjust your clothing to match the activity at hand. When choosing each layer you’ll want to find the balance between warmth, weight, functionality, volume, and durability.
Every outdoor clothing brand has their own take on a comprehensive layering system, and consequently opts for slightly different styles, materials, and price points. Finding a system that works for you will often involve incorporating different layers from different brands. My climbing is supported by Helly Hansen so many of my layering recommendations will be gear I am gifted from them!
For mountaineering you want multiple very specific layers that you can remove / add to maintain the perfect body temp for whatever activity you’re doing. The must haves include a base layer, mid-layers, outer layer (shell), and additional accessories. There will be a big difference between your layering selections for colder winter missions, and lighter weight summer mountaineering. In this blog we’ll delve into the basics of winter layers!

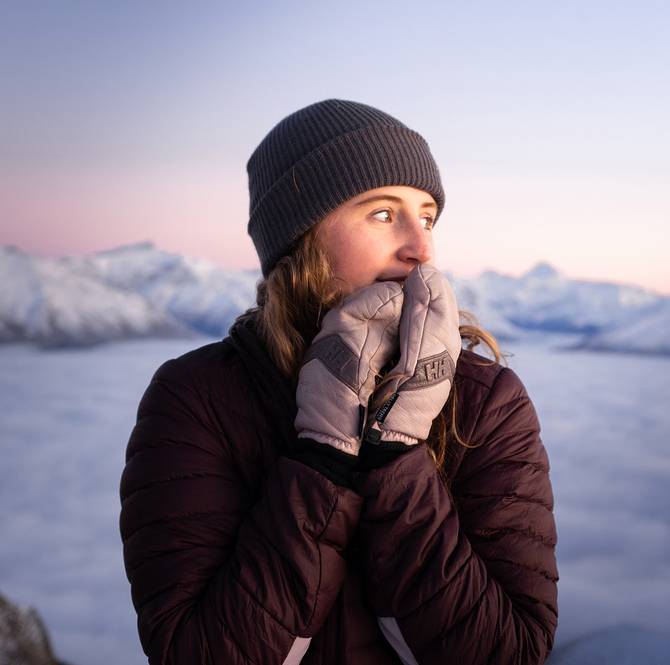
Photo credit: Matt Wilson
HOT & COLD
One of the most important aspects of any good layering system is knowing how to manage your system to maintain a stable microclimate and avoid getting too cold, or too hot and sweaty. Trapped air serves as the primary insulator in performance clothing, so finding layers that will help you achieve a stable microclimate is crucial. Failure to do so forces your body to expend precious energy in the effort to maintain this microclimate, and can throw your internal heating and cooling system completely off balance with the environment. You might associate sweating with being way too hot - but in the mountains it’s often the precursor to being way too cold!
Understanding the expected heat output of your body is just as important as choosing the right insulation thickness to combat the cold. Human exertion can generate an astonishing 1,600% more heat than when at rest. Get too hot, and your body will sweat to cool you down. Sweating becomes problematic when it saturates your insulation, rendering the air within it less efficient as an insulator. Initially, this saturated insulation matches the temperature of your overheated body, exacerbating the issue. The only way to cool down is by lowering the ambient temperature, reducing physical exertion, or removing insulation for more effective evaporation.
Once you have made one of these changes, your skin temperature will begin to cool, but if you’re still wearing saturated base and mid layers then this is when you can enter the danger zone. If this cooling effect coincides with reduced internal heat generation, such as during a lunch break, summit photo session, or an unexpected injury, your body can become highly vulnerable to the cold. This scenario is a common precursor to hypothermia, just like how animals chased in Arctic conditions can succumb to hypothermia due to sweat-soaked fur.
Now that we’ve covered the importance of maintaining this stable microclimate in your layers, let's jump into what different clothing you can use to achieve this…
1. BASE LAYER
The base layer forms the cornerstone of your layering system, directly touching your skin. It's tasked with efficiently managing moisture by wicking sweat away from your body. Opt for high-quality materials like merino wool or synthetic fabrics known for their moisture-wicking properties. It’s important to find a snug-fitting base layer, ensuring efficient moisture transfer and preventing overheating. Remember, the right base layer keeps you dry, reducing the risk of hypothermia and ensuring comfort during high-energy activities. If you are prone to sweating, you may want to consider taking an ultralight synthetic layer to wear on the approach that can be swapped out for a thermal layer.
My favourite winter base layers are the Helly Hansen LIFA Merino top and bottoms, these 2-in-1 layers compose of a breathable 100% merino wool exterior and a 100% LIFA wicking interior to keep you warm and dry.
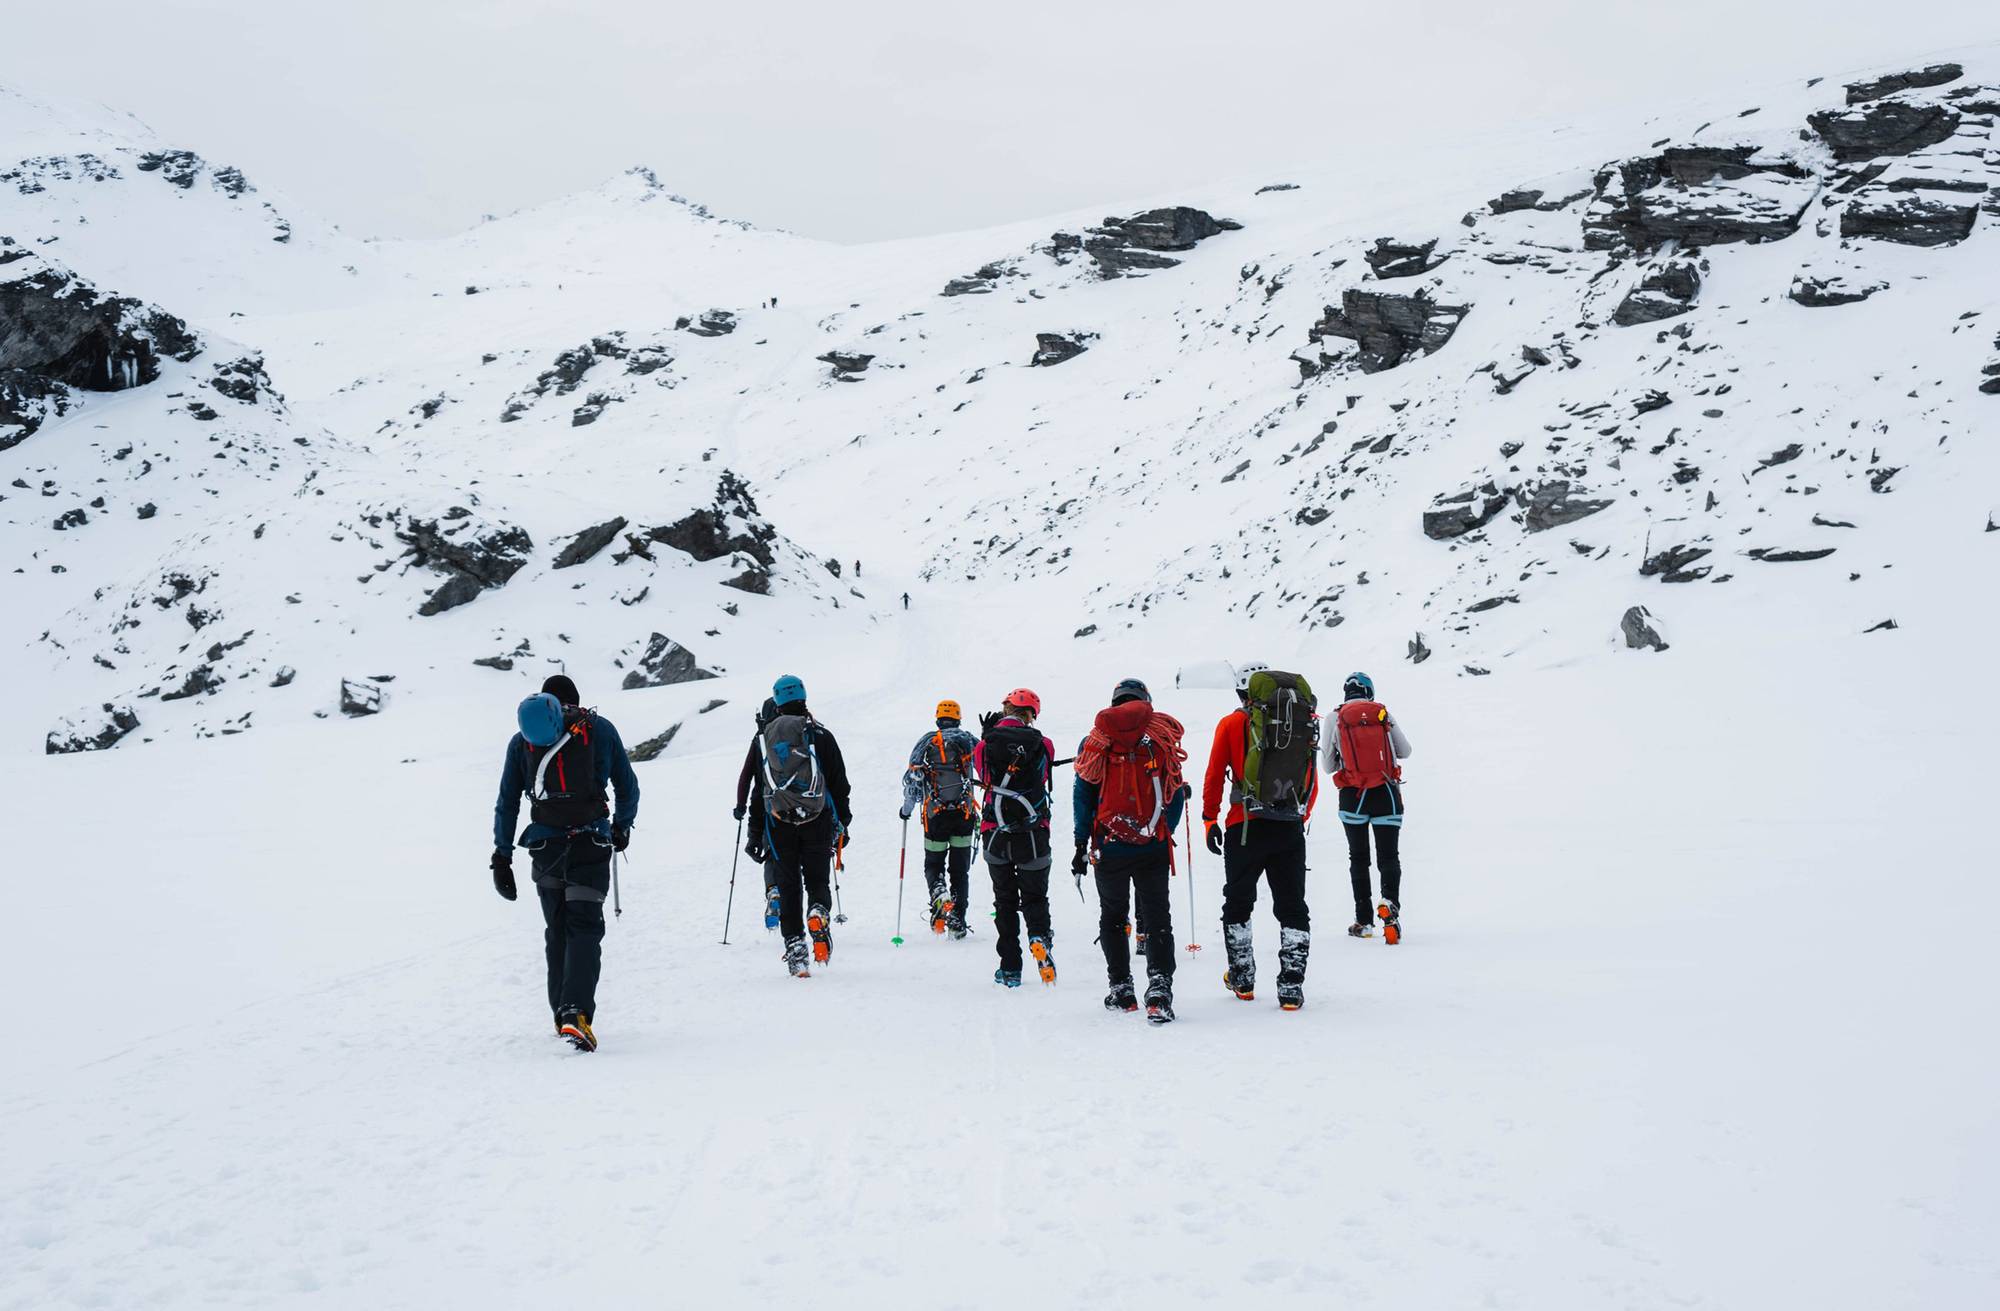
Photo credit: Matt Wilson
2. MID LAYER(S)
The mid-layer is your insulating powerhouse, trapping heat close to your body while allowing moisture to escape. Depending on the activity and conditions, you may want a variety of different mid-layers from a close fitting lightweight fleece to a synthetic insulator or down puffer jacket. You’ll want to tailor your selection to match the level of exertion – lightweight options for high-intensity activities and thicker insulators for prolonged periods of static cold exposure.
Let’s break mid-layers down into fleece and insulating mid layers…
Your fleece layer should be light, versatile, and provide you with extra warmth. One of my go to layers is the Macpac Nitro, ultra breathable and moisture wicking material means it’s perfect for wearing on the move, and the tight fighting hood goes well under a helmet. This option forgoes a zip in favour of being light-weight. This does mean that it is less versatile in regards to layering up and down with ease, however it is super breathable, packs down small, weighs nothing, and is super warm for its size. For those who prefer being able to easily switch out layers, a slightly more substantial fleece with a full length zip such as the HH Daybreaker or HH Odin Power Stretch Hoodie provides a warm and versatile alternative.
In addition to a fleece, for winter missions you’ll want a further insulating layer and puffer jacket. Choosing the right insulated layer is paramount to staying warm and comfortable in challenging conditions. Typically you’ll want to choose between a synthetic or down puffer jacket based on your objective, the weight of your other layers, and weather conditions. Understanding the differences between down and synthetic puffer jackets is crucial for making an informed choice about what insulating layer would be the best fit for you, so let's go over some of the pro’s and con’s of each…
DOWN INSULATION
Pros: Incredibly Warm: Down insulation is renowned for its exceptional warmth, making it a top choice for cold weather. Superior Warmth to Weight Ratio: It offers an impressive warmth-to-weight ratio, providing substantial warmth without excessive bulk. Highly Compressible: Down compresses easily, saving valuable space in your pack. Long Life When Properly Cared For: With proper maintenance, down jackets can last for many seasons, and the down can be replaced / refilled to further extend the jackets life.
Cons: Loses Ability to Insulate When Wet: Down insulation loses its insulating properties when wet, rendering it ineffective in rainy or humid conditions.Special Cleaning Requirements: Cleaning and maintaining down jackets can be more complex. Slow Drying Time: Down jackets need to be aired out after every trip. Their slow drying time can prove a hassle, or even impossible, on long wet trips. More Expensive Than Synthetic: Down jackets are often pricier upfront. Not Hypoallergenic: Some individuals may be sensitive or allergic to down.
SYTHETIC INSULATION
Pros: Good Insulator: Synthetic insulation provides reliable warmth, even when wet. Retains Over 90% of Insulating Ability When Wet: Unlike down, synthetic insulation retains its warmth in damp conditions. Fast Drying: Synthetic jackets dry quickly. Easy to Care For: Maintenance is straightforward. Vegan Option: Ideal for those who prefer cruelty-free products. Cheaper Than Down: Synthetic jackets are generally more budget-friendly. Hypoallergenic: Suitable for individuals with allergies or sensitivities.
Cons: Worse Warmth to Weight Ratio Than Down: Synthetic insulation is bulkier for the same level of warmth. Not as Durable as Down: Synthetic jackets may not last as long as their down counterparts. Doesn't Compress Well: They are less compressible, taking up more space in your backpack. Heavier Than Down: Synthetic jackets can be heavier, which may affect your mobility.
In New Zealand's unpredictable climate, having a synthetic insulating layer provides added security, ensuring you stay warm even if the jacket gets wet. For those who feel the cold keenly like me, a practical strategy is to carry both a synthetic puffer and a larger down puffer ‘belay jacket’ on longer and colder missions where you may be stationary / on belay for long periods of time. Typically you could have a lighter weight down jacket that fits snuggly under a raincoat to stay warm and dry, and then a bigger belay puffy than can easily go over your shell layer for extra warmth between pitches
When evaluating the warmth and weight of an insulated jacket, two key factors come into play:
Loft (Fill Power): Loft measures down quality, indicating how much space in cubic inches an ounce of down occupies. Higher numbers, such as 800, signify more effective insulation, providing superior warmth for less weight.
Fill Weight: Fill weight represents the actual amount of down inside the jacket. For instance, a jacket with 600 loft down and 205 grams of fill will typically be warmer than an 800 loft jacket filled with 95 grams of down.
It's worth noting that it's not just the insulation but also the outer fabric that matters. The outer fabric greatly influences the jacket's overall performance, affecting factors like durability, warmth, and weather resistance. Mid-layers are in the middle for a reason, they help trap heat but won’t maintain the heat your body is producing if there is wind chill stripping it away. In wet or windy conditions you’ll need a wind breaker or shell layer protecting you from heat loss, and all of your warm midlayer will need to be able to fit under this. It’s definitely worth figuring out what layers and puffy you want before buying a shell, so that you can ensure all of your layers are wearable together!
3. OUTER LAYER SHELL
The outer layer, often referred to as the shell, is your primary defence against the elements. A reliable shell not only safeguards you from external conditions but also allows excess heat and moisture to escape, preventing the dreaded clammy feeling. A waterproof hardshell layer is essential for mountaineering, particularly in places like New Zealand where the weather can often be unpredictable.
Softshell layers can also be very valuable, particularly softshell pants for long approaches and hot days where you don’t want to be sweating away under a hardshell. Full length soft-shell pants are a more breathable and comfortable option that still offers protection against cuts and scrapes which could get infected on longer missions, as well as preventing sunburn.
Important considerations for any hardshell include if their zips are water proofed, if the jacket has a helmet compatible hood, where the pockets will be sitting in relation to your harness and pack hip belt, and if they have venting ability as full length leg zips and armpit vents make an outer layer way more breathable and versatile. For those interested in ski mountaineering some hardshell jackets also boast RECCO technology, which can be used to help locate climbers / skiers buried in an avalanche.
Outer shells come in various types, but the three standard categories are two-layer, two-and-a-half-layer, and three-layer shells. Shells are not single-layer garments but rather a complex assembly of several layers compressed together, each with a distinct purpose. The first and foremost layer is the face layer, which is the fabric you see on the outside of the jacket. Typically crafted from nylon or polyester, this layer is treated with DWR to help it repel water. Next comes the waterproof layer, often composed of materials like eVent or Gore-Tex, which are renowned for their impermeability to water. The third layer is a dedicated inner liner to protect the membrane. Unlike a simple mesh or print, this innermost layer is a specially pressed high-performance barrier designed to breathe while preventing oils and dirt from interfering with the waterproof membrane. While the dedicated liner may slow down some air movement through the pores compared to 2.5 layer shells, high quality shells still tend to be relatively breathable and perform better in harsh conditions.
For New Zealand winter mountaineering 3-layer jackets and pants are typically the best choice, as they tend to be more durable and more weather resistant, which is particularly vital in the rugged and unpredictable New Zealand mountain environment.
One of the most critical components of rain jackets is the Durable Water Repellent (DWR) coating. DWR is what makes water bead up and roll off the jacket's surface, and is typically applied by either spraying it onto or washing it into the outer layer of the jacket. Its unique property lies in its breathability, which is facilitated by minuscule pores that allow air to escape or enter. These pores are designed to be large enough to let air pass through while ensuring that water remains outside. However, DWR has its weaknesses. When DWR becomes worn or clogged with dirt, it starts absorbing water. This unfortunate transformation occurs because the oils in sweat and dirt are hydrophilic, meaning they attract water and pull it through these pores. In essence, worn DWR loses its ability to protect the jacket, making it susceptible to moisture infiltration. For nearly every hardshell on the market, maintaining the waterproof layers and the integrity of the DWR coating is paramount for the longevity and functionality of rain jackets.
An exception to this, and my go to 3L Jacket, is the Helly Hansen Odin Infinity Shell. Their LIFA® INFINITY PRO™ technology has everlasting water repellent protection that never needs to be reproofed with chemical treatment after use, which makes this jacket my top pick for both sustainability and durability!

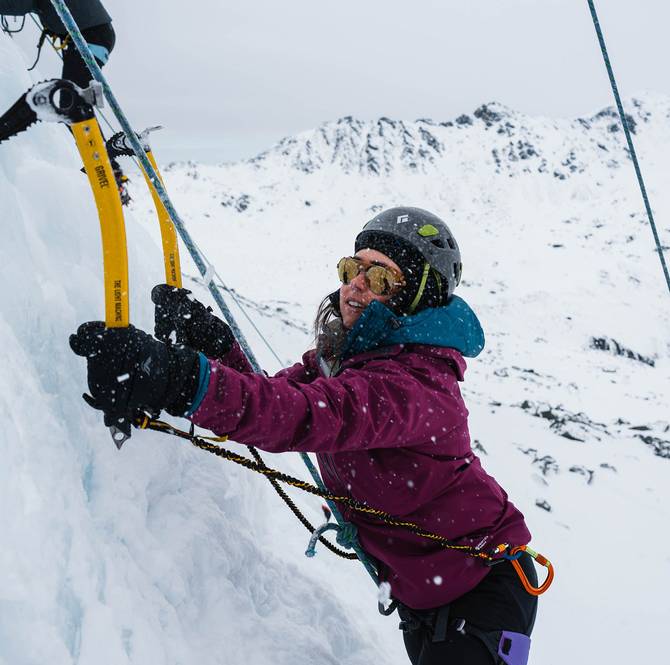
Photo credit: Matt Wilson
4. ADDITIONAL LAYERING & ACCESSORIES
Having the right additional layers and accessories can make all the difference between a comfortable adventure and a challenging one. These often-overlooked items serve as crucial components of your layering system, enhancing your overall experience and providing protection in diverse conditions.
Underwear: The foundation of your layering system starts with the right underwear. Seek high-quality, moisture-wicking materials to keep you dry and comfortable. Merino wool or synthetic fabrics work well in managing sweat and preventing chafing during long days on the mountain.
Socks: Keeping your feet warm, dry, and protected might just be one of the most important things in the mountains. Depending on what sort of boots you’re wearing and what activity you’re doing you’ll want a different thickness and style of sock. Thinner merino socks will dry faster, where as a more cushioned design will provide you with comfort for longer days hiking.
Gloves: Your hands are your primary tools in mountaineering, making gloves a vital accessory. Opt for two pairs of warm, quick-drying liners, the second pair ensures you always have dry insulating gloves if the other wets through from sweat or snow. Additionally, have different outer glove options based on your activity. Choose waterproof gloves for ice climbing, durable and tough gloves for belaying and ascending ropes, and more breathable options for extended hikes or climbs. As strange as it might seem, the Showa fishing gloves have been picked up by ice climbers as incredibly waterproof, warm, and affordable as a great ice climbing glove. On long winter routes a pair of big down mittens can also make a huge difference to keeping your hands warm and functional for the climb. The right gloves can keep your hands warm and functional in even the harshest conditions.
Neck gaiter: A versatile piece of gear, a neck gator is a must-have for mountain adventures. It serves multiple functions, from neck and face protection against cold winds to an additional head warming layering under the helmet. Neck gaiters are often made of moisture-wicking, quick-drying materials and are exceptionally handy for regulating temperature. You can typically choose different levels of warmth depending on conditions, such as very lightweight synthetic options, to merino or even fleece.
Gaiters: If your hardshell pants or boots don’t have inbuilt gaiters then gaiters are indispensable for keeping snow and moisture out of your boots. They need to be durable and able to sustain friction against rock and ice, as well as the possibility of getting caught by your crampons.
When selecting these additional layers and accessories, prioritise high-quality, warm, and quick-drying materials. Mountain conditions can change rapidly, so having gear that can adapt to various situations is essential. Your comfort and safety often depend on these seemingly small items, making them just as critical as your base, mid, and outer layers.
Now you have your layering system sorted it’s time to get out into the hills… good luck!
FOLLOW SARAH
INSTAGRAM | WEBSITE


